Articles
The SADAD Shopify Integration Guide Most Merchants Wish They Had Earlier
How to Set Up SADAD Payments on Your Shopify Store
: How to Set Up SADAD Shopify Integration (Step-by-Step Guide)
If you’re running a Shopify store in Qatar, you’ve probably already figured out that having the right payment gateway isn’t optional; it’s the difference between a customer completing their order and abandoning their cart.
The problem I see with many Qatari e-commerce stores is that they rely entirely on international payment processors.
Those work, but they don’t always carry the same level of trust as a locally licensed provider. Qatari shoppers know SADAD. They trust it. And when they see it at checkout, friction goes down.
The good news is that getting SADAD live on your Shopify store doesn’t require a developer or any complicated backend work. SADAD has a dedicated Shopify application that lets you connect Qatar’s only QCB-licensed independent payment gateway to your storefront in a few straightforward steps.
That’s exactly what this guide walks you through, from installing the app to activating payments and making sure everything is configured correctly before your first transaction goes through. If you follow each step in order, you’ll have SADAD live on your store by the end.
What You Need Before Installing the SADAD Shopify App
Getting the integration right starts before you touch Shopify. Two things need to be in place first, and skipping either one is what causes most setup failures.
First, your SADAD merchant account must be API-enabled.
Log in to your account, go to Profile, then Update Profile, and look for your Client Key and Secret Key. If they’re not there, your account hasn’t been enabled for API access yet. Just email [email protected] and the team will sort it out for you.
Second, your Shopify store needs to be on an upgradable plan.
The entry-level Starter plan won’t support third-party payment integrations like this one. It’s also worth noting that Shopify’s transaction fees vary by plan, so if you haven’t reviewed your plan recently, now is a good time to do so.
Think of this section as the five-minute check that saves you an hour of troubleshooting later. Once both boxes are ticked, the actual installation is straightforward, which is exactly what we’ll walk through next.
How to Integrate SADAD with Shopify In Three Steps: The Full Setup Walk-Through
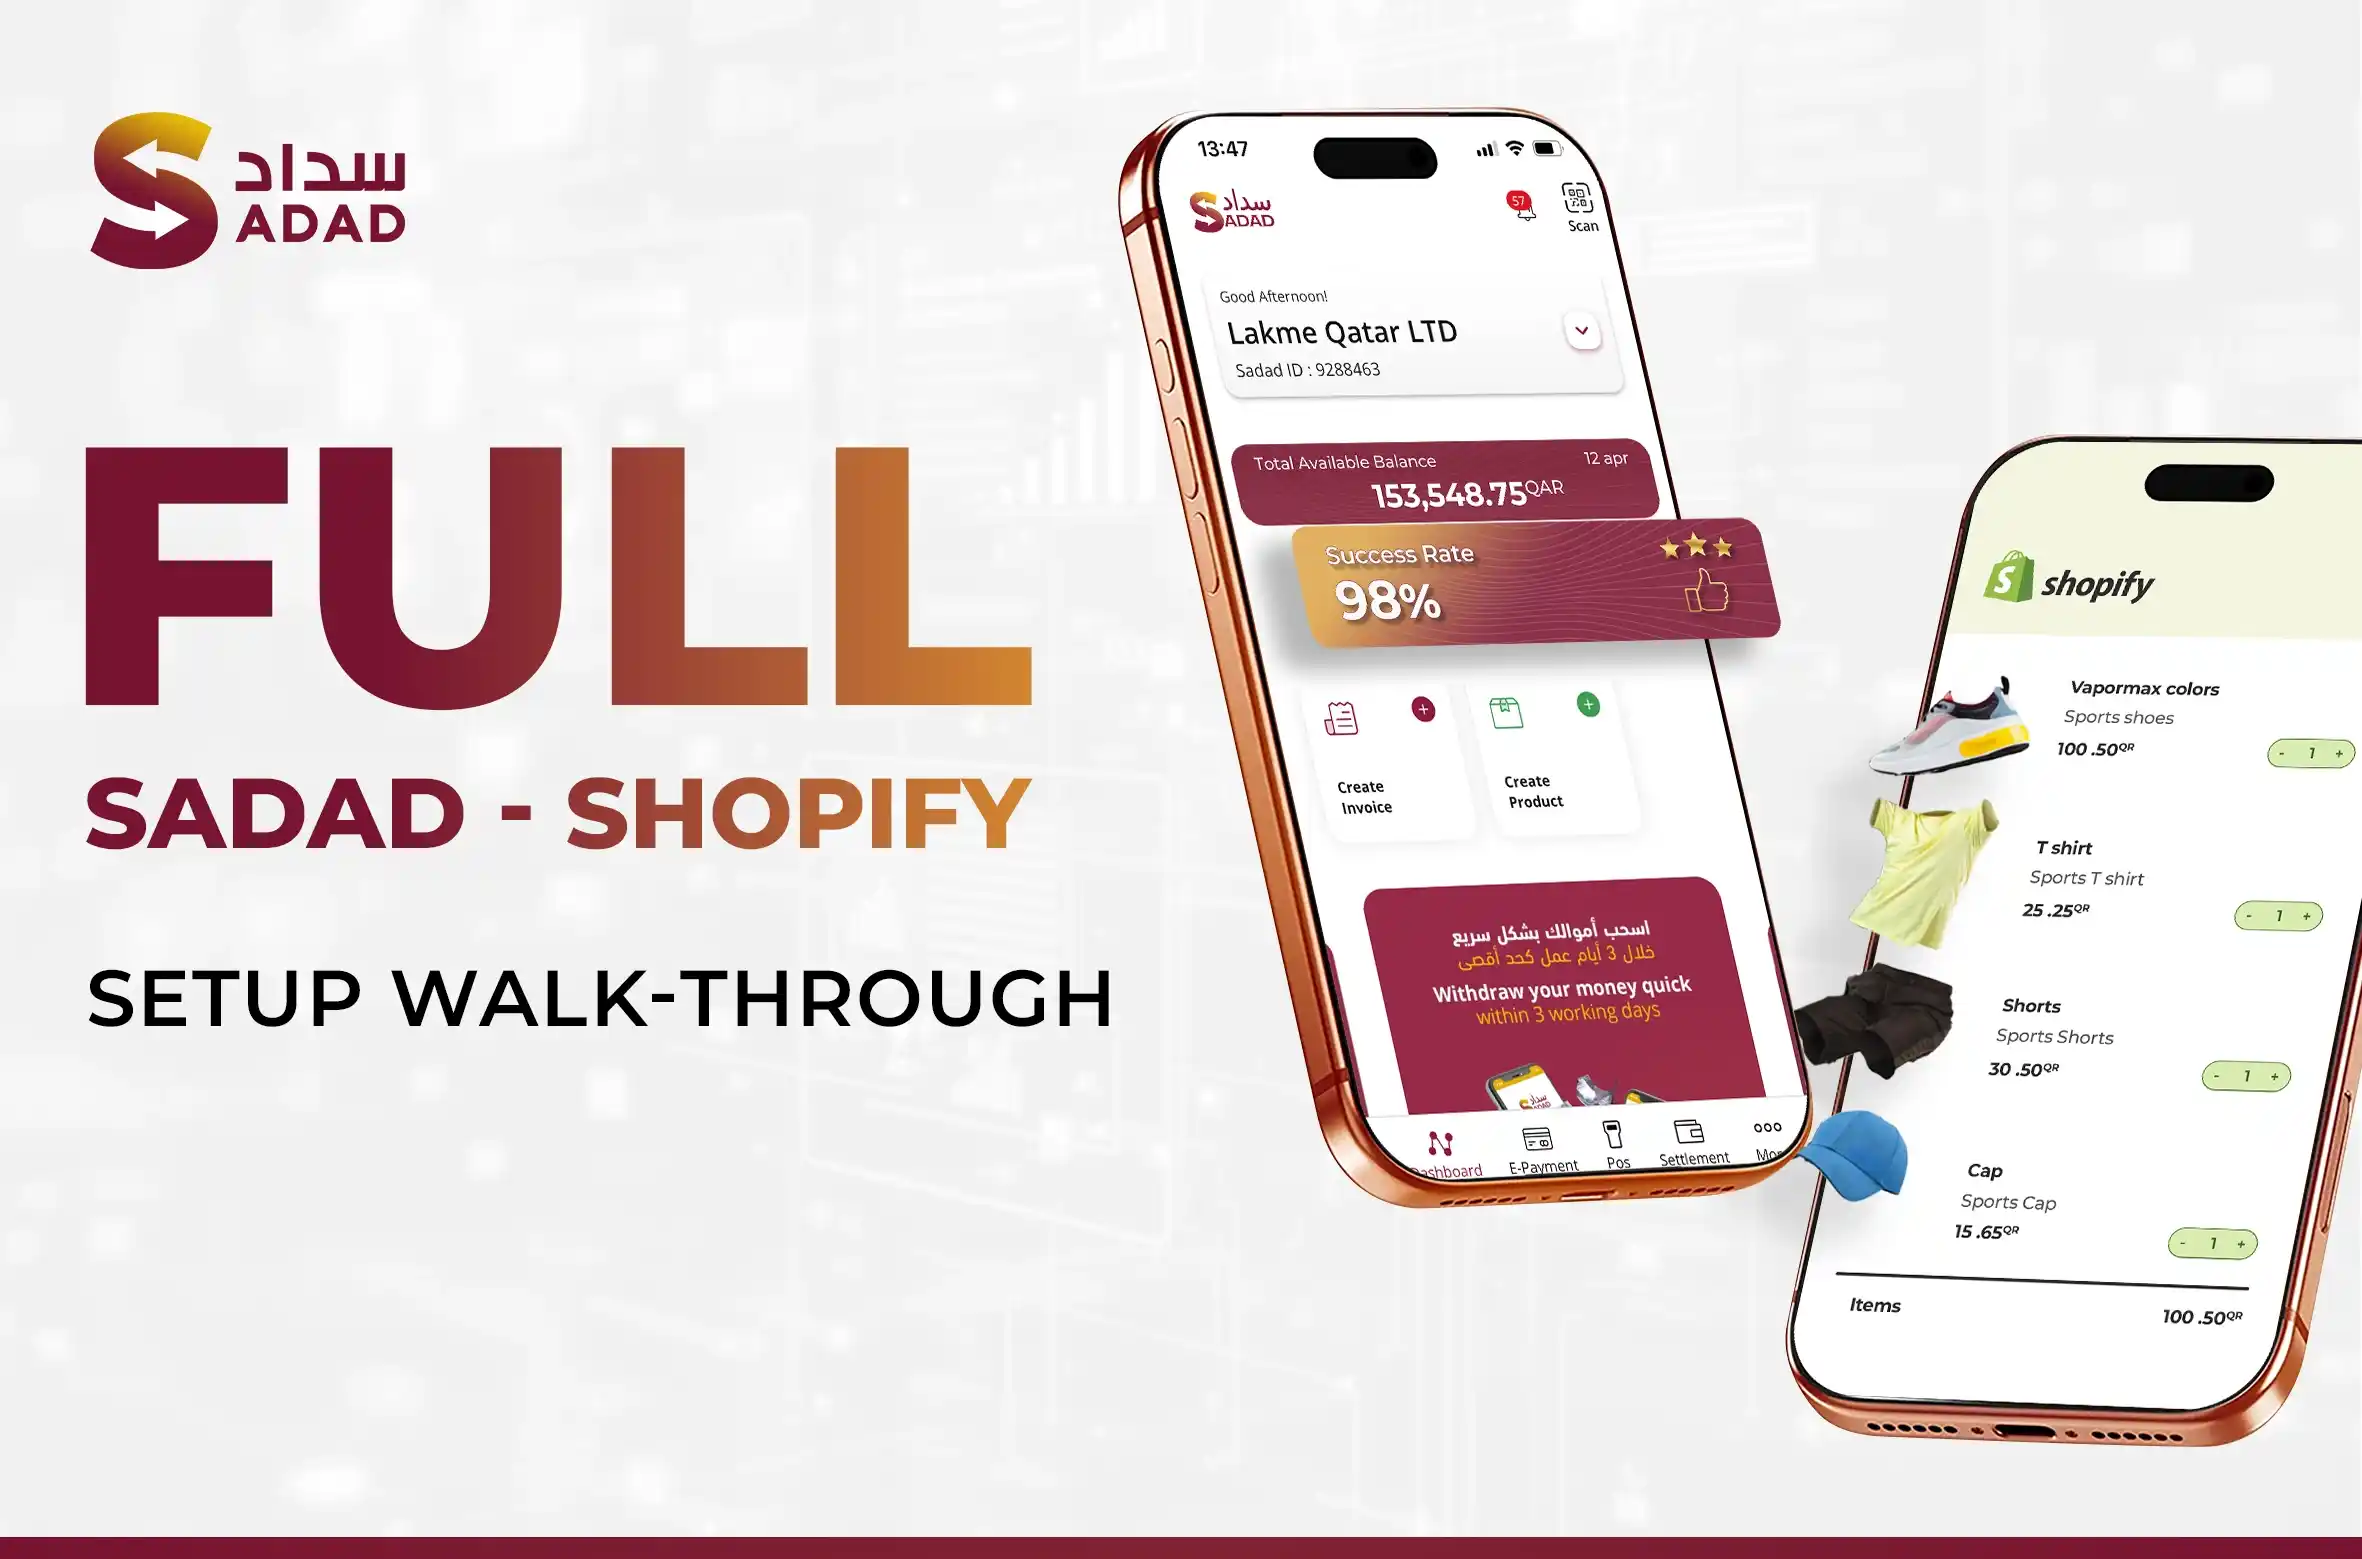
The prerequisites are sorted. Here’s exactly what to do next, in order, with no steps skipped.
Let’s dig in.
Step 1: Install the SADAD App on Your Shopify Store
With your API keys ready and your Shopify plan confirmed, the installation itself takes less than two minutes.
Start by visiting the Shopify App Store and finding the SADAD Shopify application. Once you’re on the app listing page, click “Add app.”
Shopify will redirect you to a confirmation page. This is just Shopify’s standard handoff screen before any app gets access to your store. Click “Install app” to complete the installation.
That’s it for the installation side. You’ll land on the Shopify–SadadPay management page immediately after, where the real configuration begins.
One thing worth noting here: many merchants click through these screens quickly without reading the permissions the app is requesting.
Take thirty seconds to review them. It’s a good habit with any payment integration, not just this one. Knowing what your gateway can access gives you a cleaner picture of your payment solution setup overall.
The next step is where you actually connect your SADAD account to Shopify, and this is the part most guides skip over too fast.
Step 2: Connect Your SADAD Account to Shopify
You’re now on the SadadPay manage page inside your Shopify admin. This is where most merchants either get it right in five minutes or spend an hour wondering why nothing is working.
Log in to your SADAD merchant account, go to Profile, then Update Profile, and copy your Client Key and Secret Key. Paste both into the corresponding fields on the SadadPay manage page.
Before you click anything else, find the Sandbox mode toggle and make sure it’s off. This is the single most common configuration mistake.
Sandbox mode doesn’t simulate a test transaction the way most merchants assume it does. What it actually does is mark your live Shopify orders as test orders, which creates a reconciliation mess you don’t want to untangle later. Turn it off before going any further.
Once that’s confirmed, click “Sign In.” Shopify will automatically redirect you back to your store’s admin.
It’s a simple screen, but getting these details right is what separates a clean payment gateway setup from one that causes problems at the worst possible moment. From here, one final step stands between you and a fully live SADAD integration.
Step 3: Activate SADAD as a Payment Method on Your Store
Being redirected back to your Shopify admin means the connection worked. Now you just need to make it live for your customers.
You’ll see a screen asking you to choose which payment method icons to display at checkout. Select the ones that match how your customers pay. This is a small detail that actually matters more than people realize.
Displaying familiar card icons at checkout is a trust signal, and research consistently shows that unfamiliar checkout experiences are one of the leading causes of cart abandonment.
Once you’ve made your selection, look for the Test Mode checkbox and make sure it’s unchecked. Then click “Activate Sadad Payment.”
That’s your confirmation moment.
Go to Settings> Payments in your Shopify admin, and you’ll see SADAD listed as an active payment method. If it’s showing there, your integration is live, and your store is ready to process real transactions through Qatar’s only QCB-licensed independent payment gateway.
With the activation complete, it’s worth taking 60 seconds to think about what your customer actually sees at checkout.
What Your Customers Actually See at Checkout
Activating the integration is one thing. Understanding what it does for your customer’s experience is what makes it worth doing properly.
When a shopper reaches your checkout, SADAD appears as a payment option alongside whatever other methods you’ve enabled. For Qatari customers specifically, this is more meaningful than it sounds. They’re not being handed off to an international processor they’ve never heard of.
They’re paying through a gateway that’s licensed by the Qatar Central Bank, certified to Mastercard standards, and built specifically for this market. That familiarity reduces the hesitation that costs many e-commerce businesses in Qatar real revenue at the very last step of the funnel.
One technical detail to get right on your end: SADAD requires both the email address and the phone number to be mandatory fields at checkout, not optional.
Go to Settings, then Checkout in your Shopify admin, and confirm both fields are set to required. If either one is set to optional, SADAD will return an error, and the transaction won’t go through. It’s a thirty-second fix that prevents a frustrating experience for your customer right at the point of payment.
If you want to see how this fits into a broader online payment strategy for your store, it’s worth thinking beyond just the gateway itself.
Before wrapping up, here are a few common setup issues to know about so you can troubleshoot quickly if anything comes up.
Common SADAD Shopify Setup Issues (and How to Fix Them Fast)
Most setup problems with this integration come down to one of three things, and none of them require a developer to fix.
The first is missing API keys.
If you log into your SADAD account and your Client Key and Secret Key aren’t showing under your profile, your account hasn’t been enabled for API access yet. This isn’t an error on your end; it’s just a permission that needs to be switched on. Email [email protected], and the team will enable it for you.
The second is leaving Sandbox mode on after configuration.
As covered in Step 2, this doesn’t simulate test payments; it tags your real orders as test orders. If your integration looks active but transactions aren’t behaving correctly, this is the first thing to check.
The third is a Shopify plan issue.
If the app isn’t installing or the payment method isn’t activating, confirm you’re on an upgradable Shopify plan. The Starter plan doesn’t support third-party payment integrations, and this is a wall you can’t work around without upgrading.
Beyond these three, most other issues trace back to the checkout field settings covered in the previous section.
Email and phone set to optional instead of required is the silent one it doesn’t break the integration visually, it just fails at the moment a customer tries to pay, which is exactly when you don’t want a problem surfacing.
Good troubleshooting is really just knowing where to look first, and for this integration, the list is short.
Once everything is running smoothly, you have a secure, locally licensed payment setup built from the ground up for the Qatari market.
Start Accepting Payments on Your Shopify Store Today
If you’ve followed each step in this guide, your Shopify store is now connected to Qatar’s only QCB-licensed independent payment gateway, built specifically for this market and certified to Mastercard standards.
That’s not a small thing. A lot of Qatari e-commerce stores are still running on international processors that work technically, but don’t carry the same weight with local shoppers.
Adding SADAD to your checkout isn’t just a payment option; it’s a signal to every customer who lands on your store that you’re set up to serve them seriously, locally, and with their experience in mind.
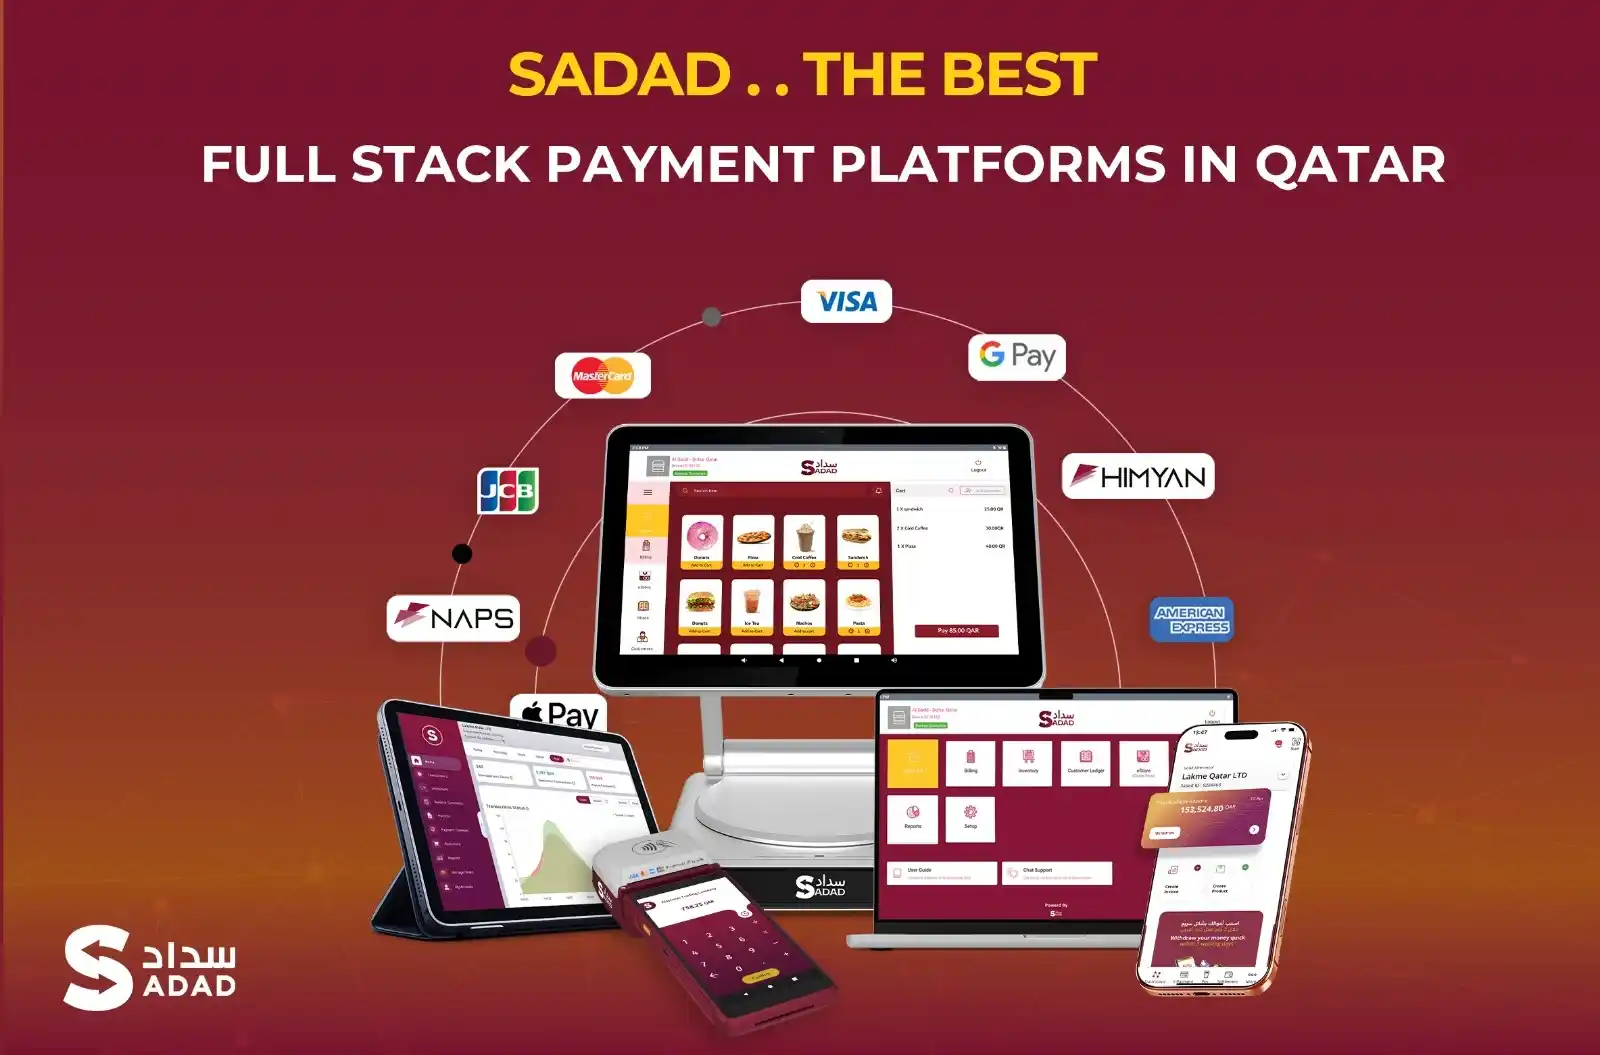
The setup we walked through here is also just the beginning of what SADAD can do for your business. From payment links to invoicing to a full cloud-based payment stack, the platform is built to grow with you as your store scales.
If you haven’t created a SADAD merchant account yet, or you need to get your API access enabled before starting, reach out to [email protected] or visit sadad to get started.
Last Articles
Articles
15 Business Ideas in Qatar You Can Start With A Clear Payment Plan
Business Ideas in Qatar: 15 Practical Opportunities You Can Start Selling From Starting a business in Qatar is not hard because there are no ideas. The hard part is choosing...
Read more
Articles
Best Restaurant POS System in Doha: What to Look For, What to Avoid, and Which Systems Actually Work
Best Restaurant POS System in Doha: The Honest Guide for 2026 Key Takeaways If you only remember one thing from this guide, remember this: choosing the best restaurant POS...
Read more
Articles
Qatar Digital Payments Statistics: Transaction Volumes, Sector Growth, and What the 2030 Numbers Actually Mean
Qatar Digital Payments Statistics 2026: Transaction Volumes, Adoption Rates, and Growth by Sector In December 2025, Qatari consumers and businesses processed QR14.67 billion in a single month across POS terminals...
Read more